Blog

  • Creative Ways to Use Pendant Lights in Your Home

    Creative Ways to Use Pendant Lights in Your Home

    Creative Ways to Use Pendant Lights in Your Home

    Introduction

    Pendant lights have become a popular choice for homeowners who want style and function. Their versatility allows them to fit into many rooms, adding both brightness and personality. When used right, pendant lights can change the look and feel of a space completely. In this article, we’ll explore creative ways to integrate pendant lights into your home. You’ll get fresh ideas for decorating and practical tips on placement to make your spaces shine.

    Enhancing Kitchen Spaces with Pendant Lights

    Focused Task Lighting over Islands and Countertops

    Pendant lights are perfect for task lighting. Select fixtures that hang directly over kitchen islands or counters. They help you see clearly while prepping food or washing dishes, reducing eye strain. To get the best light, place pendants about 30-36 inches above the countertop. This height helps avoid glare and keeps the space visually balanced.

    Incorporating Pendant Clusters for Visual Impact

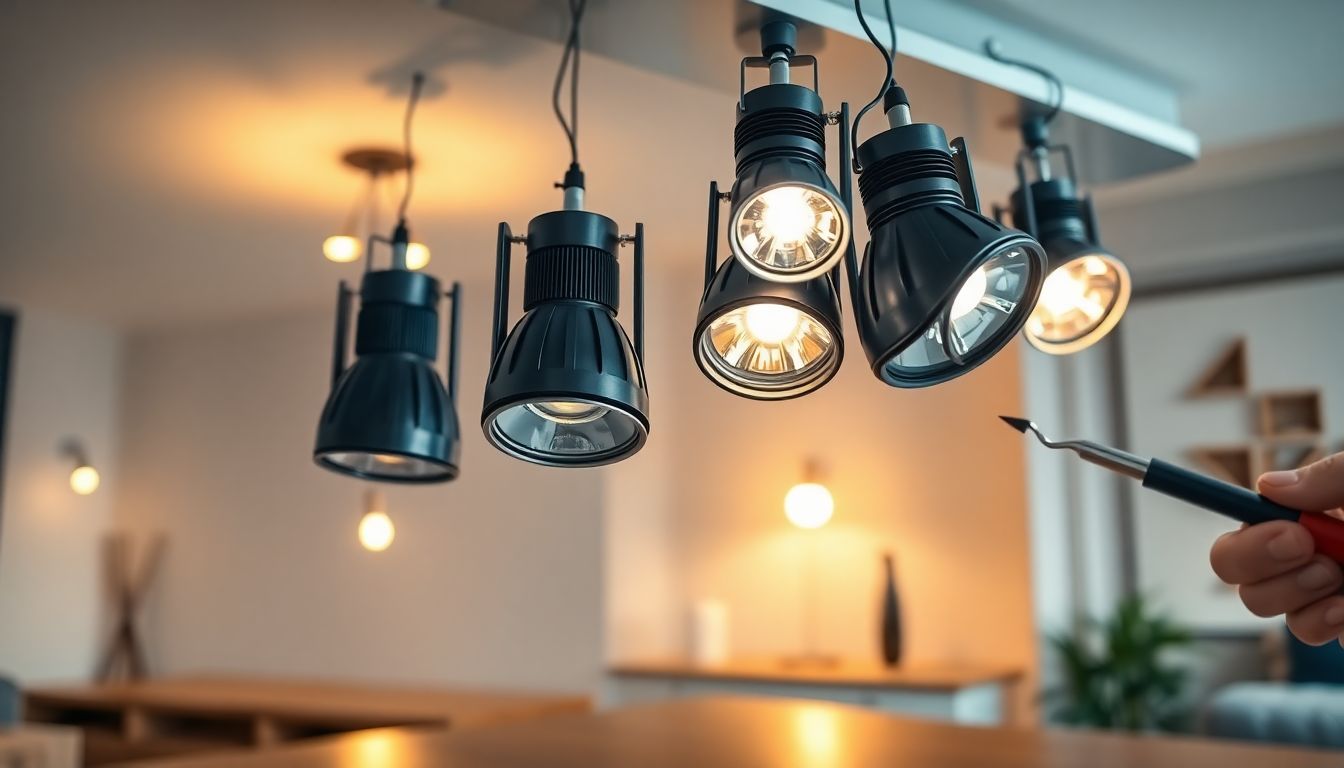
    Group multiple pendant lights to create a stunning focal point. Think of a row of three or five pendants hanging across your island. Industrial-style lights with metal finishes work well for a modern look. Scandinavian interiors benefit from simple, clean-lined pendants in soft colors. Mixing sizes and shapes adds depth and interest, making your kitchen stand out.

    Choosing the Right Pendant Style for Kitchen Decor

    Match your pendant style with your cabinets and backsplash. For sleek white kitchens, matte black or brushed nickel fixtures offer a modern touch. Bright glass pendants can bring color and sparkle. When installing, hire a professional electrician. Proper wiring ensures safety and reliable operation.

    Creating Elegant Dining Areas with Pendant Lights

    Centerpiece Pendant Fixtures for Dining Tables

    A well-chosen pendant can be the centerpiece of your dining room. Match the size of the fixture to your table—aim for a diameter that’s about half the width of the table. Styles vary from minimalist glass globes to intricate metal designs. The goal is to draw attention without overpowering the space.

    Layered Lighting with Multiple Pendant Designs

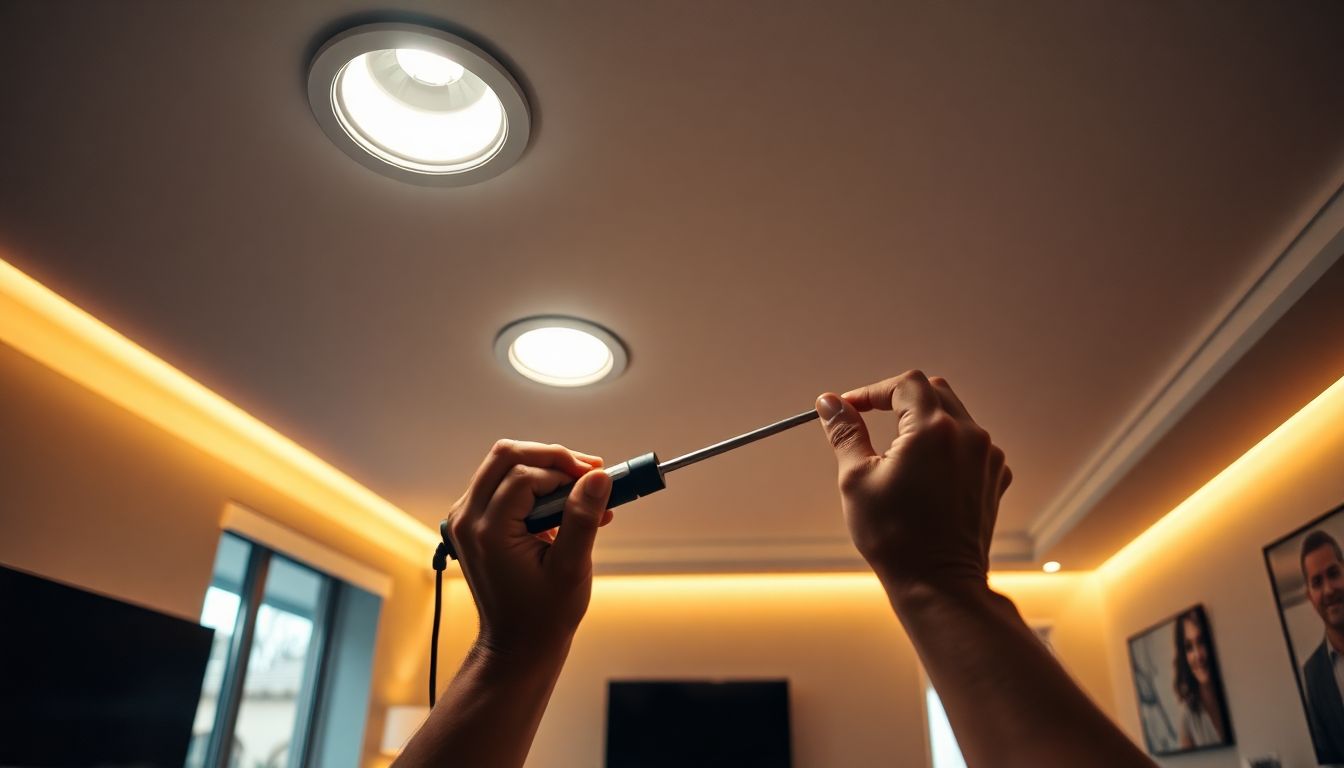
    Combine pendant lights with other sources of light for a layered effect. Use ambient lighting like ceiling flush mounts or recessed lights. Add accents with wall sconces or candles. This setup creates mood and ambiance, perfect for dinner parties or family evenings. High-end restaurants often use this trick to improve the dining experience.

    Tips for Adjusting Pendant Heights for Perfect Dining Ambiance

    Measure carefully when hanging pendants over a dining table. The ideal height is 30-36 inches above the surface. Too low, and they block views or cause glare. Too high, and they lose visual impact. Use adjustable cords or chains for flexibility and to fine-tune the look.

    Using Pendant Lights as Decorative Statements in Living Rooms

    Statement Pendant Fixtures as Art Pieces

    Pendant lights can become art in your living room. Look for designs made from unusual materials like kinetic sculptures or colorful glass. These fixtures add personality and make a statement. For minimalist rooms, a single bold pendant can transform the space into something unique.

    Overlapping Pendant Arrangements for Dynamic Visuals

    Create patterns with overlapping pendants for a lively look. Try staggered heights or random groupings to add depth. When balancing scale, keep the size of fixtures proportional to the space. Too many large pendants can clutter, while too few small ones may not make enough impact.

    Functional and Ambient Lighting Blends

    Combine pendant lights with other lighting sources. Use floor lamps or table lamps to soften shadows and add warmth. Layered lighting helps set different moods, whether for relaxing or entertaining. Think of it as creating a lighting recipe for your day-to-night needs.

    Innovative Uses of Pendant Lights in Hallways and Entrances

    Pendant Lights as Guiding Beacons

    Use pendant lights to guide guests into your home. Install fixtures along a corridor or entrance to add welcoming warmth. Choose smaller fixtures for narrow hallways. They add charm and help define the space without overwhelming it.

    Symmetrical vs. Asymmetrical Arrangements

    Symmetrical layouts work well for traditional or formal halls. Place pendants evenly on either side for balance. For a more modern look, try asymmetrical arrangements. Random placements add energy and interest, like an art gallery hallway.

    Incorporating Pendant Lights with Mirrors and Wall Art

    Pair pendant lights with mirrors or art to enhance the space. Mirrors reflect light and make narrow hallways seem larger. Wall art combined with thoughtful lighting elevates your decor. Coordinating fixtures with your wall decor creates a cohesive look.

    Transforming Bedrooms with Pendant Lights

    Pendant Lights as Reading Nooks

    Hang pendants over bedside tables or cozy corners for reading. Choose fixtures with soft, warm light for a relaxing atmosphere. Dimmable options give control over brightness, perfect for winding down at night.

    Installing Pendant Clusters as Ceiling Decor

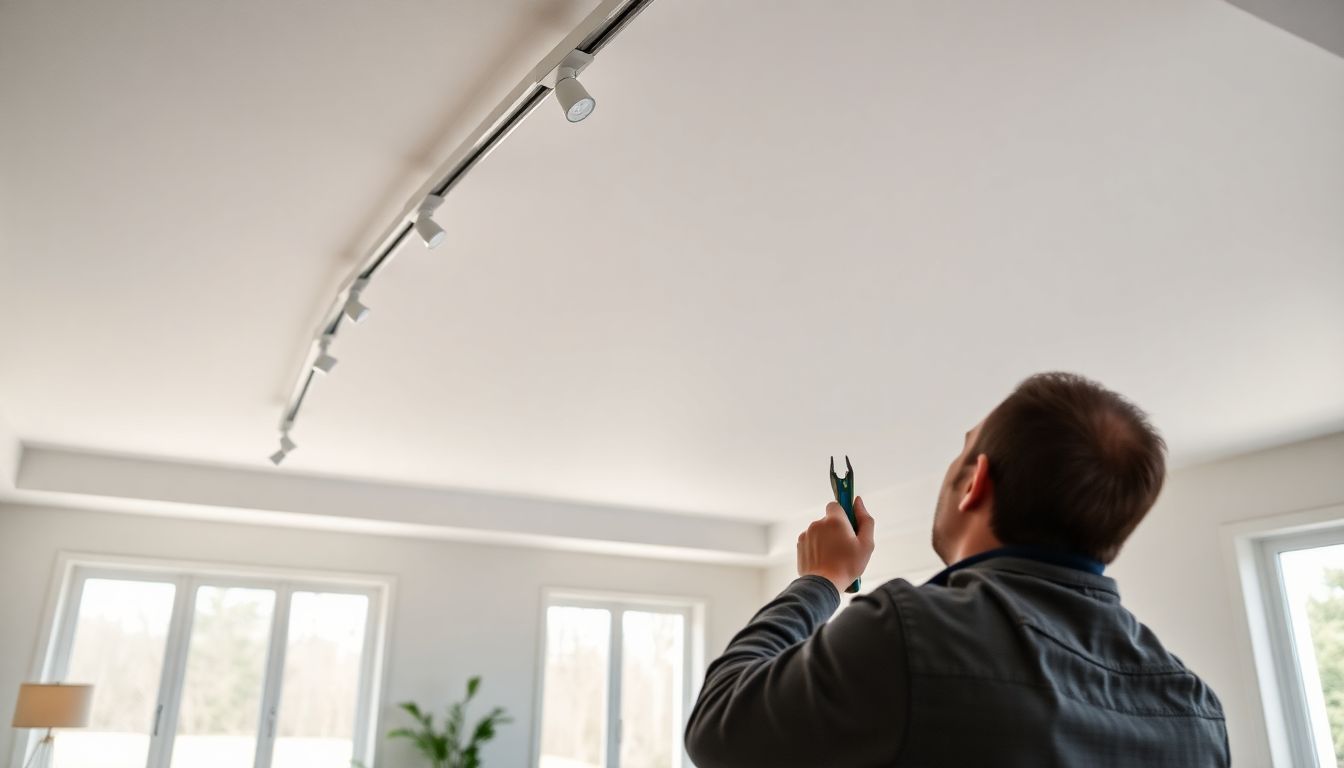
    Create a dreamy canopy effect by grouping pendants across a bedroom ceiling. Use different heights and styles for visual interest. Remember to have a professional handle electrical work. Proper height ensures safety and proper lighting coverage.

    Using Pendant Lights for Ambiance and Mood Setting

    Pick pendant lights with dimming features and adjustable color temperatures. Warm light fosters a romantic or calming mood. Cooler tones energize or brighten a space. Switch settings easily to match your mood or activity.

    Conclusion

    Pendant lights are more than just illumination—they’re key design elements. Used creatively, they can define kitchens, enhance dining rooms, add art to living spaces, and transform bedrooms into relaxing retreats. Careful placement and style choices make a big difference in both look and function. Always consider professional help to install lights safely and achieve your vision. With thoughtful planning, pendant lights will bring style and practicality to any corner of your home.

  • Common Problems with LED Spotlights and How to Fix Them

    LED Spotlight Problems

    Common Problems with LED Spotlights and How to Fix Them

    Introduction

    LED spotlights have become a top choice for homes and businesses. They look sleek, save energy, and last longer than older bulbs. But, like any light source, they sometimes develop problems. Knowing what causes these issues and how to fix them can save you time and money. Fixing common LED spotlight issues means better lighting, lower bills, and peace of mind. Many problems are simple to solve if you understand what’s going wrong.

    Understanding LED Spotlight Technology

    How LED Spotlights Work

    LEDs (or Light Emitting Diodes) produce light when electrical current flows through tiny semiconductor chips. Unlike traditional bulbs that heat up, LEDs stay cool and turn electricity directly into light. This process makes them super efficient. They don’t flicker or waste as much energy, which is why they last longer.

    Benefits of LED Spotlights

    LED spotlights use less electricity and last for thousands of hours. You can keep your lights on for years without replacing bulbs. They reduce your energy bills and help the environment. Market surveys show that more people are switching to LED lighting every year because of these perks.

    Common Failures in LED Technology

    LEDs may stop working over time due to wear. Manufacturing defects or poor quality can also cause early failures. Sometimes, external factors like heat or voltage surges damage the lights. These issues can lead to flickering, dimming, or total failure.

    Common Problems with LED Spotlights

    Flickering or Fluctuating Light

    Flickering is one of the most common complaints. It can happen if the dimmer switch isn’t compatible or if there are power surges. Loose wiring or poor connections also cause flickering. You’ll notice the light flicks intermittently, which can be distracting.

    Dimming or Not Turning On

    Sometimes an LED spotlight just refuses to light up. This may be caused by a faulty power supply, a tripped breaker, or loose wiring. Poor installation or aging LEDs can also lead to dimming or complete failure to turn on.

    Reduced Brightness Over Time

    LEDs slowly lose brightness as they age. This natural process is called lumen depreciation. External factors like heat buildup and insufficient ventilation speed up this decline. You might notice your spotlight dimming even though it’s still technically working.

    Color Rendering Issues

    If your LED light starts changing color or looks uneven, a few things could be the cause. Incorrect color temperatures can make the light look strange or off. Sometimes, poor quality LEDs produce color shifts or uneven colors over time.

    Overheating and Excessive Heat

    LEDs generate less heat than traditional bulbs but still need proper cooling. Without enough ventilation or proper heat sinks, they can overheat. Excess heat shortens their lifespan and may cause the light to fail prematurely.

    Dead LEDs or Complete Failure

    When an LED stops working altogether, it’s often due to internal failure or environmental damage. Sometimes, one component fails, causing the whole light to go dark. Manufacturing defects or power fluctuations are common causes.

    How to Troubleshoot LED Spotlight Problems

    Checking Electrical Connections

    Start by inspecting wiring, plugs, and connectors. Loose or damaged wires are common culprits. Use a multimeter to test voltage and continuity—this helps find hidden faults.

    Testing Power Supply and Dimmer Compatibility

    Ensure your dimmer or power supply matches the LED specifications. Outdated or incompatible dimmers can cause flickering or dimming issues. Replace or upgrade your power source if needed.

    Assessing and Improving Heat Dissipation

    Make sure your LEDs have good ventilation. Use fixtures with proper heat sinks or cooling features. Keep the lights in areas with good airflow. This prevents overheating and extends bulb life.

    Replacing or Repairing Faulty Components

    If a specific LED module is dead, replacing it often fixes the issue. For fixed fixtures, consider consulting a professional for repair. Always buy quality replacement parts to ensure longevity.

    Addressing Flickering and Dimming Issues

    Try switching to a dimmer designed for LEDs. If flickering persists, use surge protectors to prevent voltage spikes. Regularly check wiring and connections to avoid loose contacts.

    Preventive Maintenance Tips

    Clean your LED lights regularly to prevent dust buildup. Check connections annually to catch early problems. Good ventilation and avoiding power surges help maximize lifespan.

    Expert Recommendations and Best Practices

    Lighting experts advise choosing high-quality LEDs from trusted brands. Proper installation is crucial—reading the manufacturer’s instructions can prevent many issues. Always verify compatibility between your dimmer, power supply, and LED products.

    Conclusion

    Many LED spotlight problems, like flickering or dimming, are easy to fix with simple troubleshooting. Understanding how these lights work helps you spot issues early. Regular maintenance and quality products make a big difference in performance and durability. Don’t ignore early signs of trouble—deal with them quickly to keep your lighting bright and reliable. Remember, when in doubt, consulting a lighting professional can save you time and prevent costly mistakes. Stay proactive and enjoy the bright, efficient light your LEDs can provide.

  • Common Problems with Recessed Downlights and How to Fix Them

    Recessed Downlights

    Common Problems with Recessed Downlights and How to Fix Them

    Introduction

    Recessed downlights are a favorite for homes and offices. They make rooms look bright and modern, and they save space. But, they do come with common problems that can cause frustration. Homeowners and electricians alike need to understand what goes wrong and how to fix it. Knowing these issues helps you keep your lighting safe and bright. This article shows you typical downlight problems, why they happen, and how to fix them. Whether you’re a DIYer or a pro, these tips can save you time and money.

    Major Issues with Recessed Downlights and Their Causes

    Insufficient Lighting or Dim Downlights

    Sometimes your downlights don’t shine as bright as they should. This can happen for a few reasons. The bulb might be old or not powerful enough. Wiring problems may cut down the flow of electricity. Or, the bulb itself might be incompatible with your fixture. Checking the bulb wattage and compatibility is a good first step. If the wiring is loose or damaged, it can reduce how bright the lights appear.

    Flickering or Inconsistent Light Output

    Have you noticed your lights flicker now and then? Flickering is often caused by electrical issues. A mismatched dimmer and bulb can lead to flickering too. Over time, parts in the fixture can wear out or loosen, causing electrical fluctuations. Sometimes, the dimmer switch isn’t fast enough to handle LED bulbs, leading to inconsistent light. Fixing this usually involves checking connections and replacing faulty parts.

    Overheating and Fire Hazards

    Overheating is a serious concern. When downlights get too hot, they can become a fire risk. Poor ventilation or using a bulb with wattage higher than what the fixture supports can cause overheating. Additionally, if the fixture is covered by insulation or debris, heat can build up. Signs of overheating include discoloration of the fixture or a burnt smell. Always follow safety rules to avoid fire hazards.

    Loose or Broken Fixtures

    Fixtures can become loose over time. This often happens if they are poorly installed or if they get knocked or bumped. Material fatigue also plays a role, especially with older fixtures. You might notice a loose or wobbly downlight. In some cases, parts may break or fall apart. Fixing loose fixtures requires tightening fittings or replacing worn-out clips.

    Buzzing or Unusual Noise

    Buzzing or humming sounds can pop up from downlights. These noises are usually caused by loose wiring or incompatible components. An old transformer or a faulty bulb might also produce sounds. Noise indicates something isn’t right and needs attention. Ignoring these sounds can lead to bigger electrical problems or damage.

    Trapped Moisture or Condensation

    Moisture can sneak into the downlight housing, especially in bathrooms or humid areas. Condensation results from temperature changes or poor sealing. When water gets inside, it can cause corrosion or electrical shorts. You might see discoloration or rust on the fixture. Managing moisture and improving ventilation helps reduce this problem.

    Diagnosing Common Recessed Downlight Problems

    Visual Inspection Techniques

    Start with a close look. Turn off power first. Check for visible damage, cracks, or discoloration. Look for signs of water or rust. Make sure bulbs are in good shape. Check wiring and connectors for looseness or burns. A careful eye can spot many issues before you start fixing things.

    Electrical Testing and Safety Precautions

    Use a multimeter to check voltage at the fixture. Confirm that wires are properly connected and that there’s no cut or frayed wiring. Always switch off power before testing or handling electrical parts. If unsure, call a professional. Electricity is no joke and safety should always come first.

    When to Call a Professional

    If you’re unsure or the job involves complex wiring, hire an electrician. Signs you need experts include persistent flickering, signs of burning, or water damage. Trying to fix these problems without proper skills can be dangerous. A licensed electrician will ensure your downlights are safe and up to code.

    How to Fix Typical Recessed Downlight Problems

    Replacing or Upgrading Bulbs

    Choose LED bulbs for energy savings and longer life. Match the bulb wattage with your fixture’s maximum rating. When replacing bulbs, turn off power and use gloves to handle them. LEDs don’t get hot and often require less maintenance.

    Addressing Flickering and Dimness

    Install dimmers compatible with your bulbs. Many LEDs need specific dimmers to work correctly. Check wiring connections to ensure they are tight. Replace faulty switches or bulbs if flickering persists. Sometimes switching to better-quality bulbs fixes the issue.

    Preventing Overheating and Fire Risks

    Keep bulbs within the fixture’s wattage limit. Improve ventilation by adding vents or removing insulation from around the fixture. Use fixtures designed for high heat. Regularly inspect for signs of heat damage such as blackening or melted parts.

    Securing Loose Fixtures

    Tighten mounting clips and screws. Sometimes fixtures need new clips or braces. Make sure the fixture is firmly attached to the ceiling. Avoid over-tightening, which might crack fixtures. Replacing damaged hardware keeps your lighting safe.

    Eliminating Noise and Buzzing

    Tighten loose wiring and fittings. Replace incompatible dimmers and transformers. Using the right size and type of bulb prevents buzzes. If noise continues, it might be time to upgrade parts or call an electrician.

    Managing Moisture and Condensation

    Seal the fixture properly. Use moisture-resistant downlights in bathrooms or humid areas. Improve ventilation to keep humidity levels low. Installing proper exhaust fans and ensuring airtight seals help keep water out.

    Best Practices for Maintaining Recessed Downlights

    • Check and clean fixtures regularly to remove dust and debris.
    • Upgrade to modern, more energy-efficient models when possible.
    • Hire licensed electricians for installation and repairs.
    • Follow local safety guidelines and building codes to prevent hazards.

    Conclusion

    Recessed downlights are powerful tools for lighting a space, but they can develop common problems. From dim lights to flickering or overheating, knowing how to diagnose and fix these issues keeps your home safe and bright. Simple maintenance and timely repairs go a long way, and don’t hesitate to call professionals for complex issues. Properly installed and maintained downlights reward you with better lighting and peace of mind. Keep your lights in top shape and enjoy a well-lit, safe home.

  • Easy Tips to Install Track Lighting Without a Mess

    Track Lighting Installation

    Easy Tips to Install Track Lighting Without a Mess

    Introduction

    Track lighting has become popular in many homes and offices. It’s a great way to add style and light to any space. But many worry about the mess that comes with installing new lighting. Dust, wires, broken paint, or clutter can make the job stressful.

    Luckily, you can set up track lighting with minimal mess. Doing it cleanly saves time, keeps your space tidy, and gives you professional-looking results. Whether you’re a DIY enthusiast or hiring help, these tips will guide you to an easy, mess-free installation.

    Understanding Track Lighting and Its Benefits

    What Is Track Lighting?

    Track lighting consists of a track that holds multiple light fixtures. The track is usually mounted on ceilings or walls. It contains wiring inside, so you just connect the lights to the track.

    There are different types of track lighting. Monorail tracks are flexible and can curve around corners. Two-circuit tracks let you control different groups of lights separately. Flexible or extendable tracks are perfect if you plan to move lights later.

    Benefits of Installing Track Lighting

    • Adjustable placement: Lights can be repositioned easily for perfect angles.
    • Enhanced ambiance: Create mood lighting or highlight artwork and features.
    • Cost-effective upgrade: It’s cheaper than rewiring an entire room while adding style.
    • Simple to modify: Change or add fixtures without tearing down walls or ceilings.

    Preparation for a Mess-Free Track Lighting Installation

    Assessing Your Space and Planning

    Start by measuring your space. Decide where each light should go for the best effect. Use a tape measure and sketch out your plan.

    Creating a plan prevents unnecessary cuts and adjustments later. It also helps avoid accidental damage to walls or ceilings. Think about the layout to reduce fixing errors.

    Gathering the Right Tools and Materials

    Make sure you have everything ready before starting. Here’s a list of essentials:

    • Drill and drill bits
    • Measuring tape and level
    • Wire stripper and screwdriver
    • Connectors, mounting brackets, insulated wires
    • Painter’s tape for marking spots
    • Safety gear: gloves and safety glasses

    Having these items on hand makes the process smoother. Expect fewer surprises and less mess with proper setup.

    Ensuring Safety and Compliance

    Turn off your power at the circuit breaker. Never work with live wires.

    Check local electrical codes. They tell you what’s legal and safe. If you’re unsure about wiring or codes, don’t hesitate to get professional help. A licensed electrician can ensure your setup is safe and neat.

    Step-by-Step Guide to Installing Track Lighting Without a Mess

    Mounting the Track Base Effortlessly

    Using Templates or Guides for Precise Placement

    Mark mounting points with painter’s tape instead of nails or screws. Or cut paper templates matching your track size. Stick these in place and verify position.

    This way, you avoid accidental holes or marks. Precise placement reduces the need for adjustments later.

    Pre-assembly Tips

    Assemble the track components on the ground first. Connect fixtures and make wiring connections before attaching to the ceiling.

    Securing the base with minimal handling prevents dust and debris from spreading. It also simplifies the final mounting.

    Running Wires Cleanly and Securely

    Concealed Wiring Techniques

    Use plastic raceways or conduit tubes to hide wires. Run wires through ceiling cavities or within walls if possible.

    This keeps your space tidy and avoids exposed wires. Use fish tape to guide wires through tight spaces easily.

    Minimizing Dust and Debris

    Cover furniture, floors, and nearby objects with plastic sheets or painter’s cloths.

    Use a dust-collecting vacuum attachment while drilling or cutting. Wear a dust mask to stay safe. These steps keep your space clean and safe.

    Connecting and Configuring Lights

    Easy Connection Tips

    Opt for fixtures with quick-connect systems. Label wires clearly — color codes help avoid confusion.

    Secure your connections tightly to prevent loosening or sparks later.

    Adjusting Light Positions Without Residue

    Use flexible mounting brackets that let you move lights without extra holes.
    Rearranging fixtures should be simple and leave minimal marks. It prevents damage that can create a messy look.

    Tips for Maintaining a Clean Workspace

    Use of Drop Cloths and Protective Coverings

    Lay down plastic sheets or painter’s tarps over floors and furniture before starting. It catches falling debris and dust.

    These coverings make cleanup faster and easier once you finish.

    Proper Disposal of Waste

    Recycle old fixtures or packaging whenever possible. Dispose of wires and debris at proper waste centers.
    Avoid piling debris in walkways or corners to prevent accidents.

    Post-Installation Cleanup

    Use a handheld vacuum or dust brush to sweep away leftover dust and debris.
    Double-check all fixtures, tighten loose connections, and remove painter’s tape.

    This final step ensures your space looks neat and your lights work perfectly.

    Expert Insights and Best Practices

    Licensed electricians emphasize the importance of planning every step. They recommend using proper templates and protective coverings to cut down on mess.

    Latest track lighting designs now include quick-mount fixtures and easier wiring options, making installs cleaner and faster. Some top brands are Halo, Juno, and Lithonia, offering components designed for effortless and tidy setups.

    Having the right tools — especially quality drills, rollers, and connectors — makes all the difference. Better tools mean less frustration and cleaner results.

    Conclusion

    Installing track lighting without making a mess is achievable with proper planning, the right tools, and a safety mindset. Measure carefully, use templates, and cover everything to catch debris.

    Remember, safety always comes first. If you feel unsure, hiring a professional can save you time and mess. With these simple tips, you can turn an overwhelming project into a smooth, clean experience.

    Start your project confident — your space will look better and stay cleaner in no time.

    Key Takeaways

    • Plan everything before you start to prevent unnecessary mess.
    • Use templates, painter’s tape, and protective coverings to keep things tidy.
    • Proper wiring techniques and good tools make installation easier and cleaner.
    • Always prioritize safety, and don’t hesitate to get professional help when needed.
  • How to choose the right human hair wig for your face shape

    Image

    How to Choose the Right Human Hair Wig for Your Face Shape

    Introduction

    Human hair wigs are more popular than ever. They offer style, versatility, and a chance for self-expression. Picking the perfect wig can seem tricky, especially when you want it to complement your face. The key is choosing a style that enhances your natural features. This guide will help you find the right wig based on your face shape and personal taste.

    Understanding Your Face Shape

    Types of Face Shapes

    Knowing your face shape is the first step. Here are common types you might recognize:

    • Oval: Balanced proportions with slightly narrower jaw and forehead.
    • Round: Curved jawline, equal width and height.
    • Square: Strong jawline, broad forehead, angular features.
    • Heart: Wide forehead, high cheekbones, narrow chin.
    • Diamond: Prominent cheekbones and a pointy chin.
    • Rectangular: Long and narrow, with a straight jawline.

    Use a mirror or take photos to compare your features with these descriptions. Visual references can make it easier to identify your shape.

    Why Face Shape Matters in Wig Selection

    Your face shape influences how a wig looks on you. The right style can highlight your best features or mask areas you’re less confident about. An expert stylist once said, “Face shape should guide your wig choices, not limit them.” When a wig balances your proportions, it makes you look polished and natural.

    Factors to Consider Before Choosing a Human Hair Wig

    Hair Texture and Density

    Matching the wig’s texture to your natural hair creates a seamless look. If your hair is thick or fine, choose a wig with similar density. The right texture can also reflect your style goals, whether you want straight, wavy, or curly hair.

    Wig Cap Style and Construction

    Cap styles affect both appearance and comfort:

    • Lace front: Natural hairline, great for styling away from your face.
    • Full lace: Versatile styling options, more breathable.
    • Monofilament: Mimics natural scalp, looks realistic.
    • Capless: Lightweight, easier to wear.

    Think about how much breathability and flexibility you need for daily wear.

    Personal Style and Lifestyle

    Your daily routine matters. Do you prefer a natural look or bold styles? Are you active or mostly indoors? Light, easy-to-maintain wigs work well for busy schedules, while elaborate styles suit special occasions. Find a balance that matches your lifestyle and personal taste.

    Selecting Wigs for Different Face Shapes

    For Oval Faces

    Oval faces are considered the most versatile. You can try most styles, but balanced layers and soft waves are especially flattering. A side part adds elegance and variety to your look. Play with different styles without worrying about distorting your natural symmetry.

    For Round Faces

    Round faces benefit from longer styles that stretch the face vertically. Layered cuts, angled styles, and volume at the top create a slimming effect. Avoid styles that add width or make your face look even rounder. Vertical lines are your best friends here.

    For Square Faces

    To soften a strong jawline, choose wigs with gentle waves or layered cuts. Side-swept bangs help break the boxy look. Light curls and textures can add softness and movement. The goal is to balance sharp angles with flowy, gentle styles.

    For Heart-Shaped Faces

    Balance a wider forehead with styles that add volume around the chin. Chin-length waves and side parts work well. Volume at the temples can also balance the face. Avoid heavy bangs that draw attention upward. The idea is to make your features feel harmonious.

    For Diamond and Rectangular Faces

    These faces look best with textured layers and waves. Side parts and soft curls help soften angular features. Styles that add width at the chin or cheekbones make the face seem more balanced. Focus on creating a natural, harmonious look—your goal is smooth lines and gentle curves.

    Tips from Experts and Real-World Examples

    Many top stylists recommend always considering your face shape when choosing a wig. Influencers show how a simple change in part or layers transforms their look. Celebrity example: Emma Roberts often wears side-swept styles that suit her oval face. Their tips help show how small adjustments lead to big results.

    Actionable Tips for Picking the Perfect Human Hair Wig

    • Measure your face with a soft tape to get accurate dimensions.
    • Try different styles in front of a mirror, checking from all angles.
    • Seek advice from a wig specialist for tailored recommendations.
    • Use good lighting to see how the wig enhances your features.
    • Keep your wig in good shape with proper cleaning and storage. This keeps its style and quality longer.

    Conclusion

    Choosing the right human hair wig depends on understanding your face shape. When you pick a style that balances your features, you boost confidence naturally. Remember, fashion is personal—experiment and find what feels best. Take your time to analyze your face and try different options. Your perfect wig is waiting to enhance your natural beauty.