Easy Tips to Install Track Lighting Without a Mess
Introduction
Track lighting has become popular in many homes and offices. It’s a great way to add style and light to any space. But many worry about the mess that comes with installing new lighting. Dust, wires, broken paint, or clutter can make the job stressful.
Luckily, you can set up track lighting with minimal mess. Doing it cleanly saves time, keeps your space tidy, and gives you professional-looking results. Whether you’re a DIY enthusiast or hiring help, these tips will guide you to an easy, mess-free installation.
Understanding Track Lighting and Its Benefits
What Is Track Lighting?
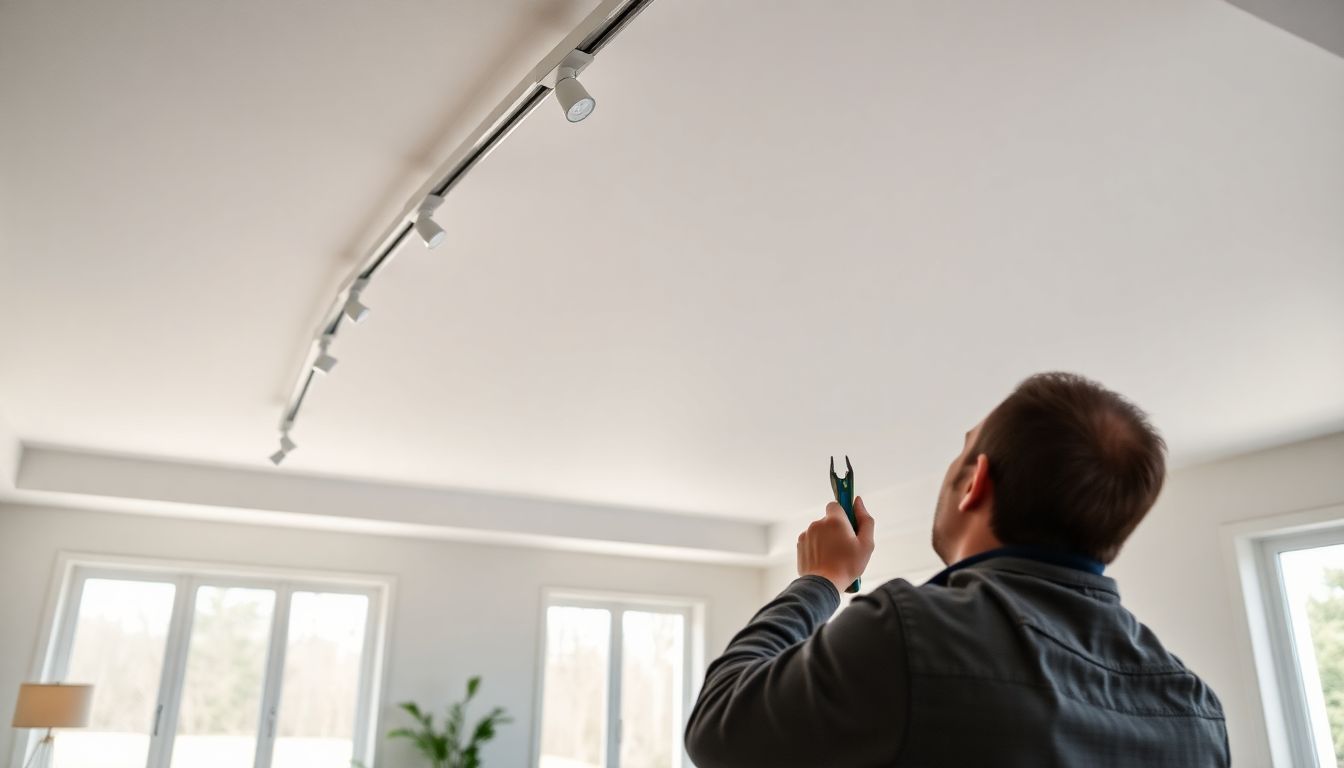
Track lighting consists of a track that holds multiple light fixtures. The track is usually mounted on ceilings or walls. It contains wiring inside, so you just connect the lights to the track.
There are different types of track lighting. Monorail tracks are flexible and can curve around corners. Two-circuit tracks let you control different groups of lights separately. Flexible or extendable tracks are perfect if you plan to move lights later.
Benefits of Installing Track Lighting
- Adjustable placement: Lights can be repositioned easily for perfect angles.
- Enhanced ambiance: Create mood lighting or highlight artwork and features.
- Cost-effective upgrade: It’s cheaper than rewiring an entire room while adding style.
- Simple to modify: Change or add fixtures without tearing down walls or ceilings.
Preparation for a Mess-Free Track Lighting Installation
Assessing Your Space and Planning
Start by measuring your space. Decide where each light should go for the best effect. Use a tape measure and sketch out your plan.
Creating a plan prevents unnecessary cuts and adjustments later. It also helps avoid accidental damage to walls or ceilings. Think about the layout to reduce fixing errors.
Gathering the Right Tools and Materials
Make sure you have everything ready before starting. Here’s a list of essentials:
- Drill and drill bits
- Measuring tape and level
- Wire stripper and screwdriver
- Connectors, mounting brackets, insulated wires
- Painter’s tape for marking spots
- Safety gear: gloves and safety glasses
Having these items on hand makes the process smoother. Expect fewer surprises and less mess with proper setup.
Ensuring Safety and Compliance
Turn off your power at the circuit breaker. Never work with live wires.
Check local electrical codes. They tell you what’s legal and safe. If you’re unsure about wiring or codes, don’t hesitate to get professional help. A licensed electrician can ensure your setup is safe and neat.
Step-by-Step Guide to Installing Track Lighting Without a Mess
Mounting the Track Base Effortlessly
Using Templates or Guides for Precise Placement
Mark mounting points with painter’s tape instead of nails or screws. Or cut paper templates matching your track size. Stick these in place and verify position.
This way, you avoid accidental holes or marks. Precise placement reduces the need for adjustments later.
Pre-assembly Tips
Assemble the track components on the ground first. Connect fixtures and make wiring connections before attaching to the ceiling.
Securing the base with minimal handling prevents dust and debris from spreading. It also simplifies the final mounting.
Running Wires Cleanly and Securely
Concealed Wiring Techniques
Use plastic raceways or conduit tubes to hide wires. Run wires through ceiling cavities or within walls if possible.
This keeps your space tidy and avoids exposed wires. Use fish tape to guide wires through tight spaces easily.
Minimizing Dust and Debris
Cover furniture, floors, and nearby objects with plastic sheets or painter’s cloths.
Use a dust-collecting vacuum attachment while drilling or cutting. Wear a dust mask to stay safe. These steps keep your space clean and safe.
Connecting and Configuring Lights
Easy Connection Tips
Opt for fixtures with quick-connect systems. Label wires clearly — color codes help avoid confusion.
Secure your connections tightly to prevent loosening or sparks later.
Adjusting Light Positions Without Residue
Use flexible mounting brackets that let you move lights without extra holes.
Rearranging fixtures should be simple and leave minimal marks. It prevents damage that can create a messy look.
Tips for Maintaining a Clean Workspace
Use of Drop Cloths and Protective Coverings
Lay down plastic sheets or painter’s tarps over floors and furniture before starting. It catches falling debris and dust.
These coverings make cleanup faster and easier once you finish.
Proper Disposal of Waste
Recycle old fixtures or packaging whenever possible. Dispose of wires and debris at proper waste centers.
Avoid piling debris in walkways or corners to prevent accidents.
Post-Installation Cleanup
Use a handheld vacuum or dust brush to sweep away leftover dust and debris.
Double-check all fixtures, tighten loose connections, and remove painter’s tape.
This final step ensures your space looks neat and your lights work perfectly.
Expert Insights and Best Practices
Licensed electricians emphasize the importance of planning every step. They recommend using proper templates and protective coverings to cut down on mess.
Latest track lighting designs now include quick-mount fixtures and easier wiring options, making installs cleaner and faster. Some top brands are Halo, Juno, and Lithonia, offering components designed for effortless and tidy setups.
Having the right tools — especially quality drills, rollers, and connectors — makes all the difference. Better tools mean less frustration and cleaner results.
Conclusion
Installing track lighting without making a mess is achievable with proper planning, the right tools, and a safety mindset. Measure carefully, use templates, and cover everything to catch debris.
Remember, safety always comes first. If you feel unsure, hiring a professional can save you time and mess. With these simple tips, you can turn an overwhelming project into a smooth, clean experience.
Start your project confident — your space will look better and stay cleaner in no time.
Key Takeaways
- Plan everything before you start to prevent unnecessary mess.
- Use templates, painter’s tape, and protective coverings to keep things tidy.
- Proper wiring techniques and good tools make installation easier and cleaner.
- Always prioritize safety, and don’t hesitate to get professional help when needed.
Leave a Reply